Guide · Draftmill

Blog post outline example:
home coffee brewing for beginners

A step-by-step outline for a beginner's guide to making pour-over coffee at home. Here are the settings we used in Draftmill, the full outline it built, and how to turn it into a finished blog post.

Published 27 October 2026 · Example made on iPhone with Draftmill 1.0.1 (TestFlight build of the same version as the App Store release)

The situation

A how-to post for people new to home coffee

You want to write a blog post for readers who have just started making coffee at home: what to buy, how to brew a first cup, and how to fix it when it tastes wrong. Before writing a single paragraph, it helps to settle the structure — the steps, in order, with the points each one has to cover.

That is what an outline is for. The one below is exactly what Draftmill produced from the settings on this page.

Step by step

How to build it in Draftmill

  1. On the home screen, under Content Planning, tap Blog Outline.
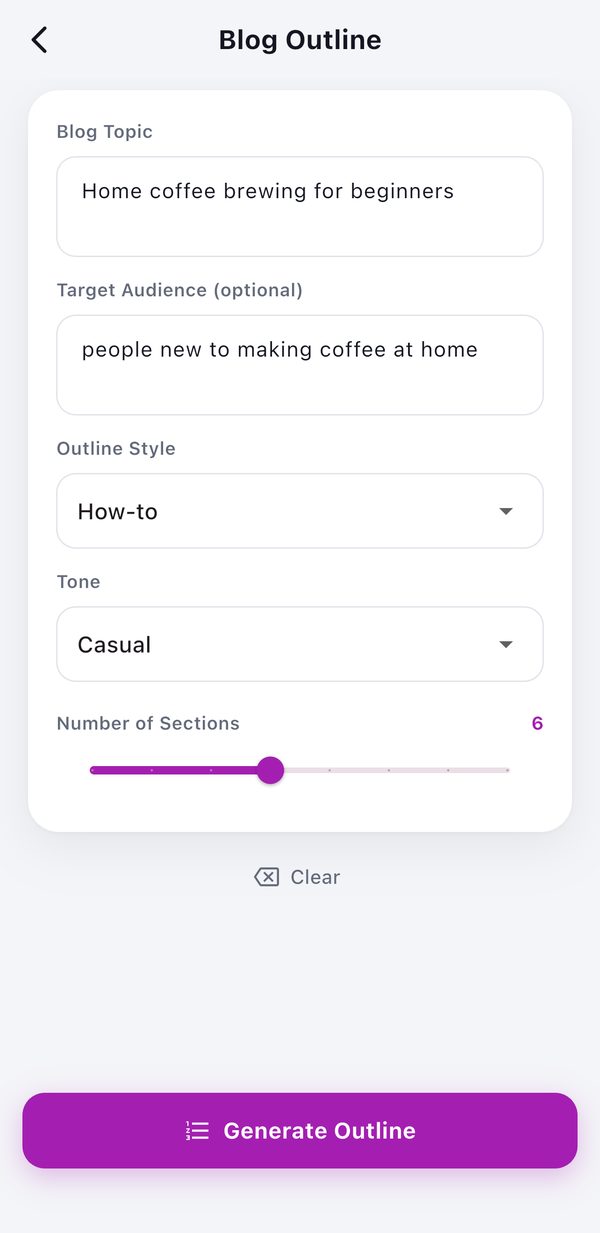
  2. Fill in the form. These are the values we used:
    Blog TopicHome coffee brewing for beginners
    Target Audience (optional)people new to making coffee at home
    Outline StyleHow-to (the other styles are Listicle, Story, Compare and Deep-dive)
    ToneCasual (or Professional, Friendly, Bold)
    Number of Sections6 (set with the slider)
  3. Tap Generate Outline. The result opens in a sheet titled Outline; scroll to read all of it.
  4. Tap Copy All and paste the outline into the editor where you write your posts.
Draftmill Blog Outline form with the home coffee brewing topic, How-to style, Casual tone and 6 sections
The Blog Outline form with our settings.
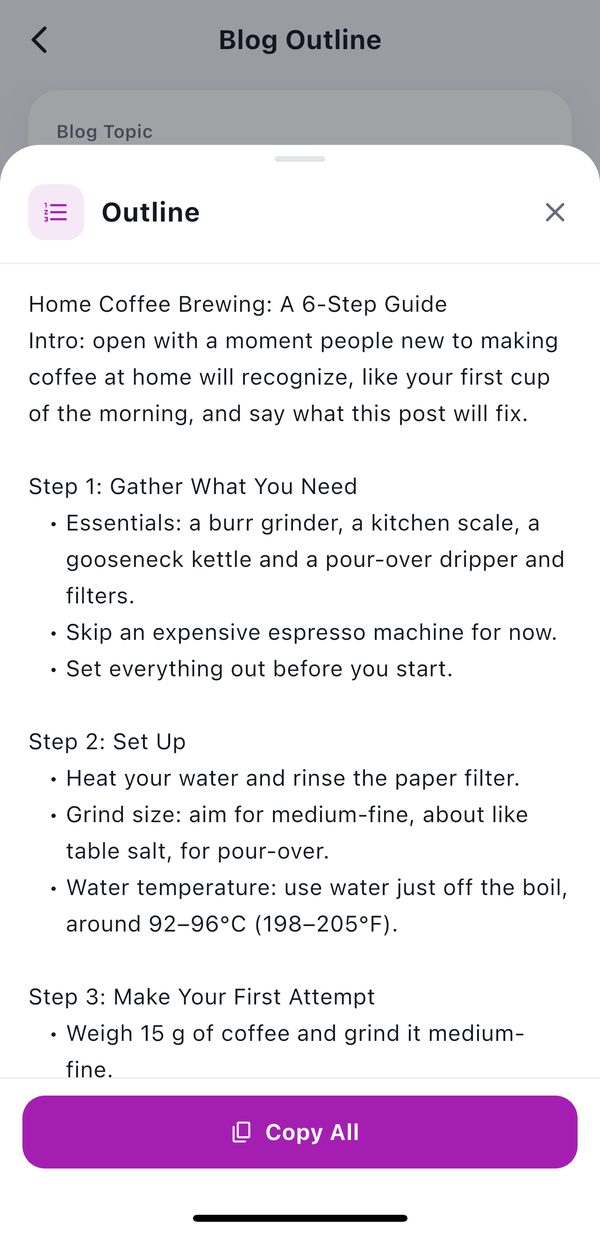
The first screen of the generated home coffee brewing outline in Draftmill
The first screen of the result. The full outline is below.

iPhone screenshots, October 2026, with the status bar cropped.

The result

The full outline

Home Coffee Brewing: A 6-Step Guide
Intro: open with a moment people new to making coffee at home will recognize, like your first cup of the morning, and say what this post will fix.

Step 1: Gather What You Need
• Essentials: a burr grinder, a kitchen scale, a gooseneck kettle and a pour-over dripper and filters.
• Skip an expensive espresso machine for now.
• Set everything out before you start.

Step 2: Set Up
• Heat your water and rinse the paper filter.
• Grind size: aim for medium-fine, about like table salt, for pour-over.
• Water temperature: use water just off the boil, around 92–96°C (198–205°F).

Step 3: Make Your First Attempt
• Weigh 15 g of coffee and grind it medium-fine.
• Pour 30–40 g of water and let it bloom for 30–45 seconds.
• Pour the rest slowly in circles until you reach 250 g.

Step 4: Check the Result
• Taste it: bitter or harsh means grind a little coarser next time; sour or thin means grind a little finer.
• Check the brew time: a pour-over should finish in about 2:30 to 3:30.
• Write down what you did so you can repeat it.

Step 5: Fix the Most Common Problems
• Pouring all the water in at once? Pour in slow stages so the water reaches all the grounds evenly.
• Scooping coffee by eye instead of weighing it? Weigh the coffee and the water every time, and write the numbers down.
• Buying pre-ground coffee and keeping it for weeks? Buy whole beans and grind just before you brew.

Step 6: Recap
• Gather the basics, follow the routine, then adjust one thing at a time.
• Try it this week and note what you change.

Outro: end by asking readers what they will try first.

Shown unedited. The wording changes each time you generate, so you will get an outline like this one rather than this exact text. The brewing numbers are common pour-over starting points (15 g of coffee to 250 g of water is about 1:16.7); adjust them to your own taste.
From outline to post

How to turn it into a finished article

This is a writing plan, not a finished post. The "Intro" and "Outro" lines are notes to you, the writer, not text to publish. A simple way to work from it:

  1. Write the intro from the prompt. Two or three sentences about a first cup of the morning that didn't turn out right, then one sentence on what the post will help with.
  2. Make each step a section. Use the step names as subheadings and turn each bullet into a short paragraph. Add what only you can add: the grinder you use, a photo of your setup, the first cup you got wrong.
  3. Keep the numbers together. Steps 2 and 3 hold the recipe (grind, temperature, dose, bloom, total water). A small table or a "quick recipe" box makes them easy to find again.
  4. End with the question. The outro suggests asking readers what they will try first, which gives them a reason to comment.
Before you publish

Small fixes to make

What we learned

Tips for better settings

We generated this outline more than once before keeping the version above. What we noticed:

More guides

Other real examples

Cold email examplePitching a website to a local bakery, written in Tactworks. Course outline exampleIntro to Photography, 6 modules over 4 weeks, built in Slateroom.

Outline your next post

Draftmill is free to download, with five free results to try. See all ten content tools.

Download on the App Store →